How to Create a New AI Avatar Project
Each project created in Genesis AI Avatar Studio lets you run a single AI avatar that can be embedded on your website as a chatbot widget or streamed directly to a holobox as an AI hologram for interactive, real-time engagement with your visitors or customers. Every project has its own setup, subscription, and integrations, so you can shape distinct user experiences tailored to specific goals or audiences.
Here is a quick tutorial on how to launch your first AI avatar project and make it live in a matter of minutes:
- Log in to the Genesis Studio dashboard and click the "+ New Project" tile in the central Your Projects dashboard pane.
- In the frame that opens, enter a name for your new project:
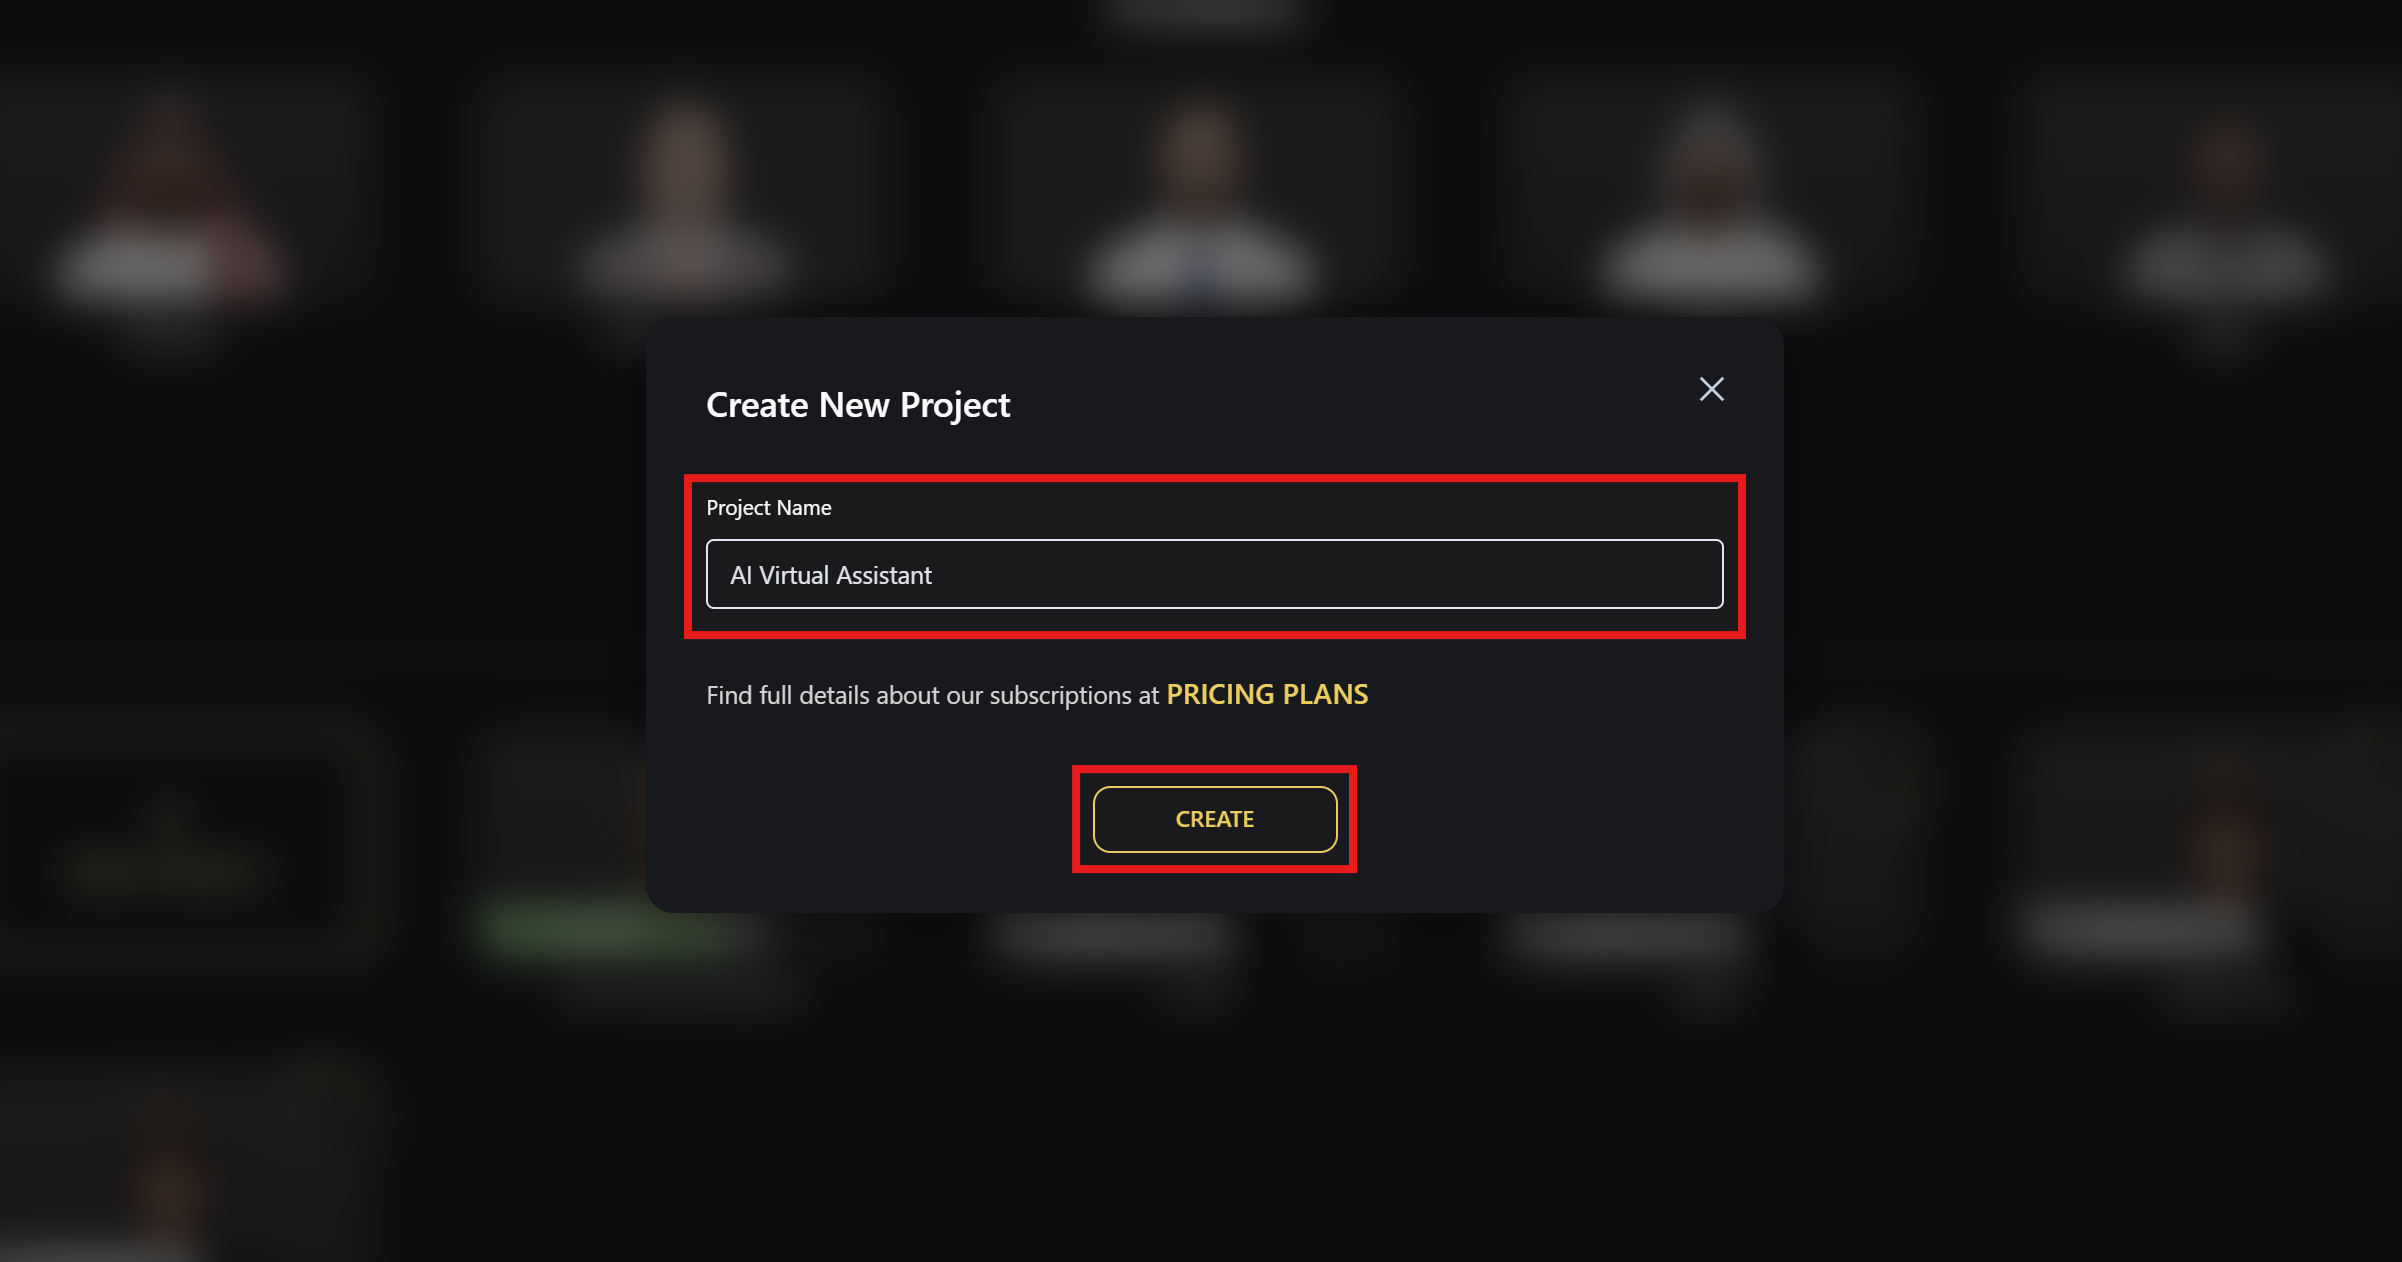
Click Create to confirm.
- Your project will be ready instantly, and you’ll be taken straight into the configuration wizard to start shaping your AI avatar:
Use the wizard sections on the left to explore all available configuration options step by step - this guide will walk you through each part.
Activating the Project
By default, every new project starts in Inactive status, allowing you to explore the platform and set up your avatar before going live. In this initial state, your project can be fully pre-configured, but interactive features such as real-time dialogue preview and integration with web or holographic platforms remain disabled.
To make your AI avatar available for live interaction, you need to activate the project by selecting a subscription plan and completing the purchase. To perform this, follow the next steps:
- Open the Configuration Wizard > PROJECT tab for your selected project and expand the Pricing Plan list.
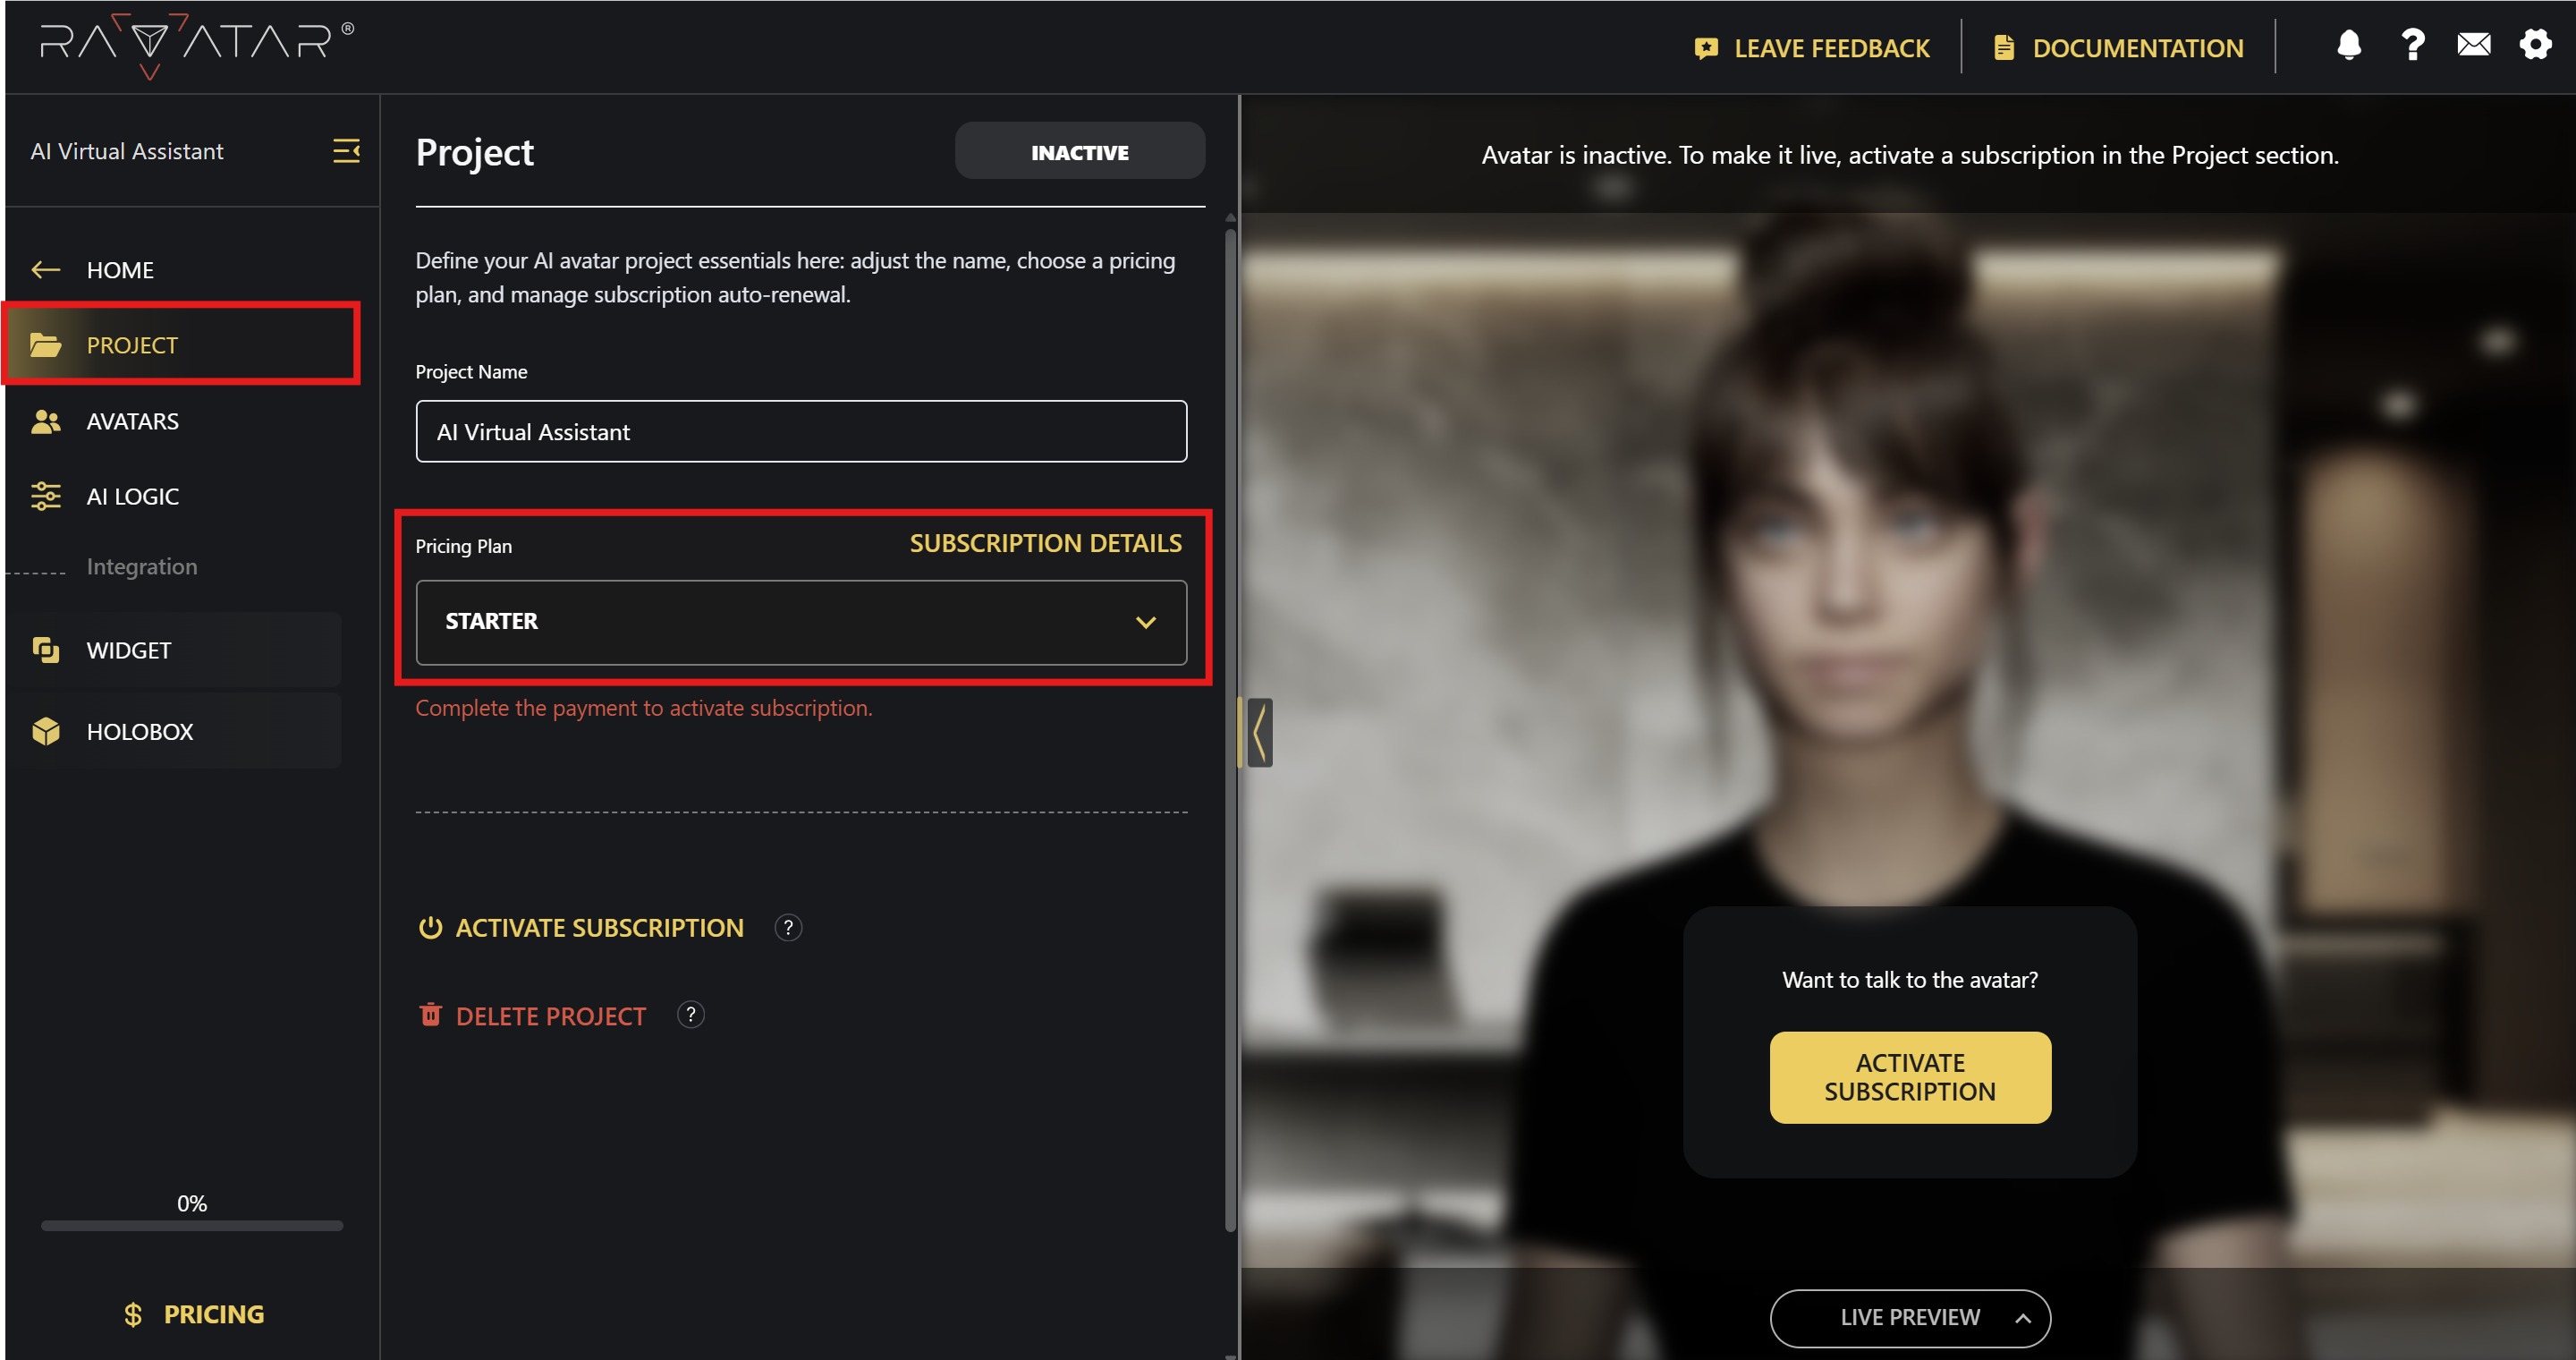
- Choose a subscription tier that fits your business case needs and select the preferred billing cycle (Monthly or Annually) using the options above.
For more details on what each subscription includes, check out the full plan comparison on the RAVATAR Pricing site page.
Once a suitable plan is selected, click the GO WITH button below.
If you choose the Enterprise option, you’ll be shown a form where you can submit a request, outlining your anticipated resource usage (such as conversation minutes) and any specific requirements you have in mind.
Our team will review your request and follow up to discuss the terms and custom pricing. Note that submitting the form does not activate your project – it will remain Inactive until the agreement is finalized and the plan is applied.
- You’ll be automatically redirected to a secure checkout page powered by Stripe to finalize your subscription. Complete the designated fields with your card details and billing information.
If you need to be invoiced as a company rather than as an individual, check the corresponding ‘I’m purchasing as a business’ box and provide your VAT information in the fields that appear (this option is only visible in countries where VAT or business tax identification is supported).
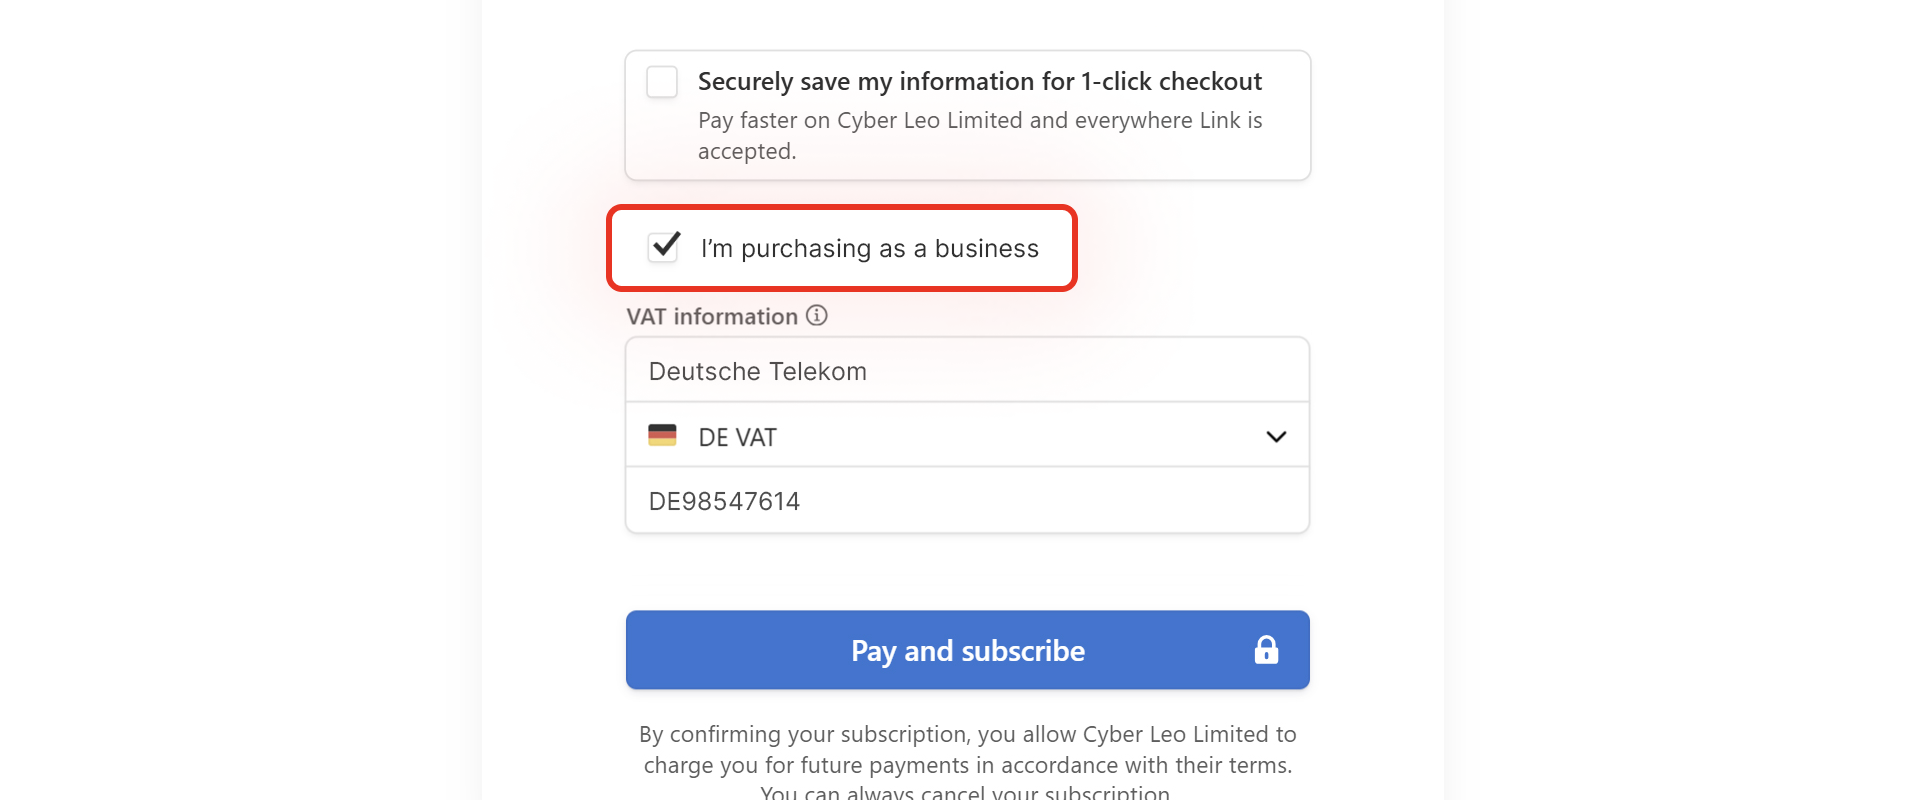
Select Pay and subscribe.
- Once the payment is completed, you’ll be automatically taken back to the Genesis Studio dashboard, where your project’s status has already changed to Active, unlocking all runtime capabilities.
Below the Pricing Plan list, you’ll find the date when your subscription will automatically renew using the payment method provided during checkout. For more details on managing the auto-renewal option, refer to the Subscription Management document.