Azure OpenAI
Choosing Azure OpenAI as the engine lets you power the avatar with OpenAI models hosted in your own Microsoft Azure environment. Under Configure credentials from, pick the portal your resource lives in – each card links to the corresponding console:
- Azure AI Foundry (ai.azure.com) – selected by default.
- Azure Portal (portal.azure.com) – the classic portal flow.
Azure AI Foundry
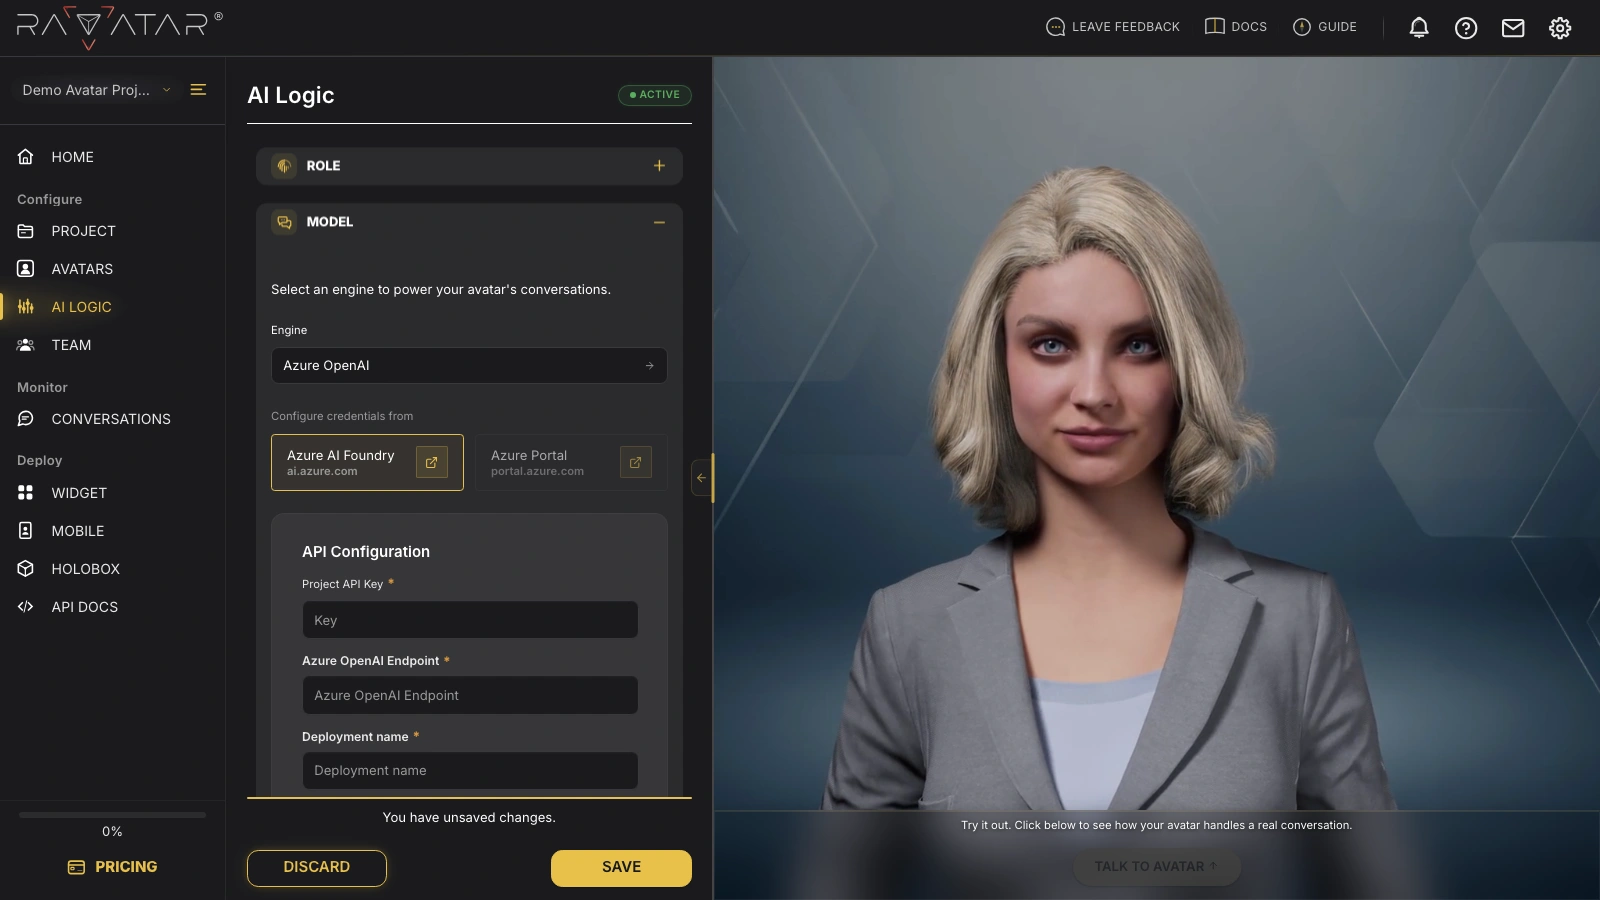
Fill in the API Configuration fields, all of which are required:
- Project API Key – the key of your Azure OpenAI resource.
- Azure OpenAI Endpoint – the endpoint URL of your resource.
- Deployment name – the name of your model deployment; in Azure AI Foundry, you can find it under Build → Models → Deployments (first column).
Both the key and the endpoint are shown on your project’s Home page at ai.azure.com.
Azure Portal
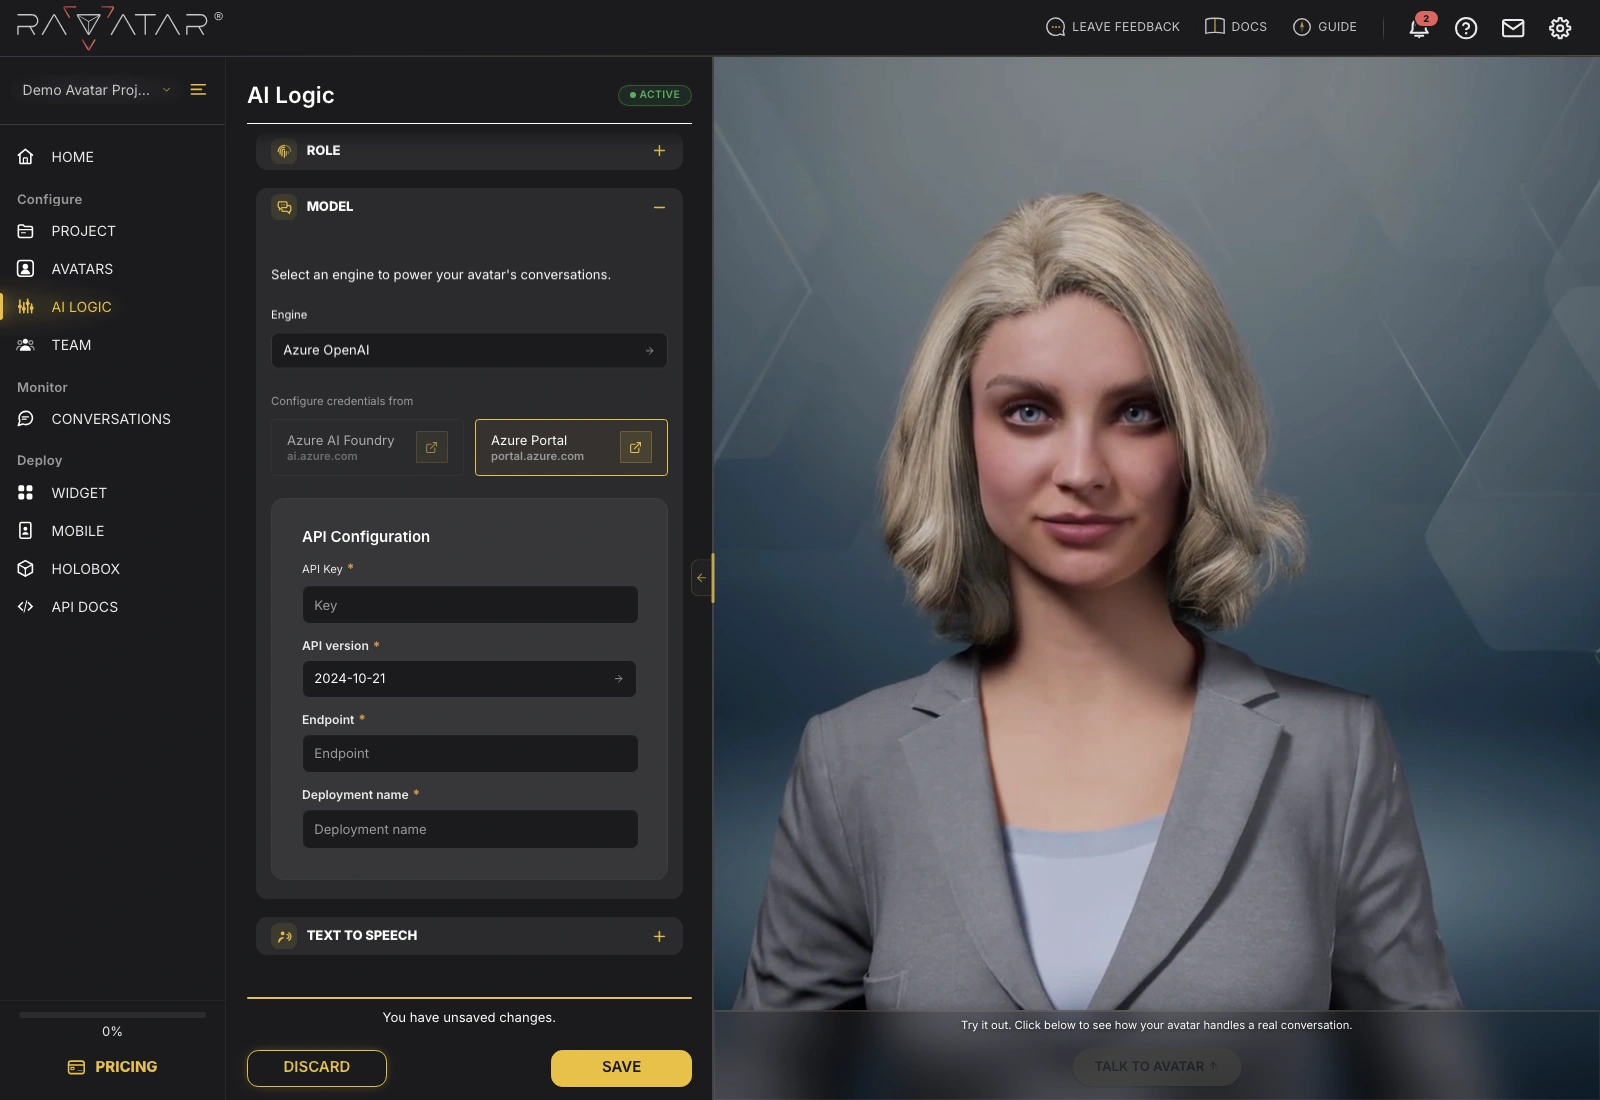
The classic portal flow uses the same fields, with two differences:
- API Key – the key field drops the Project prefix.
- API version – appears only in this flow; pick the version your resource targets from the list. If you’re not sure, keep the preselected one – change it only when your deployment requires a specific version.
In this flow, copy the key and the endpoint from the Keys and Endpoint page of your Azure OpenAI resource at portal.azure.com.
Click Save to connect the resource to your project.
If the avatar doesn’t respond after saving, re-check the Deployment name first – it must match the name in the portal exactly. A mistyped endpoint URL is the other usual culprit.
With the model configured, proceed to the TEXT TO SPEECH section to define how your AI avatar sounds.